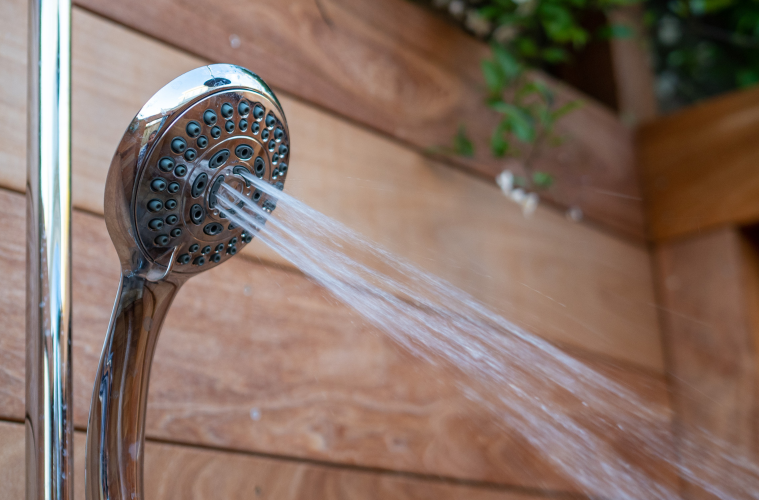
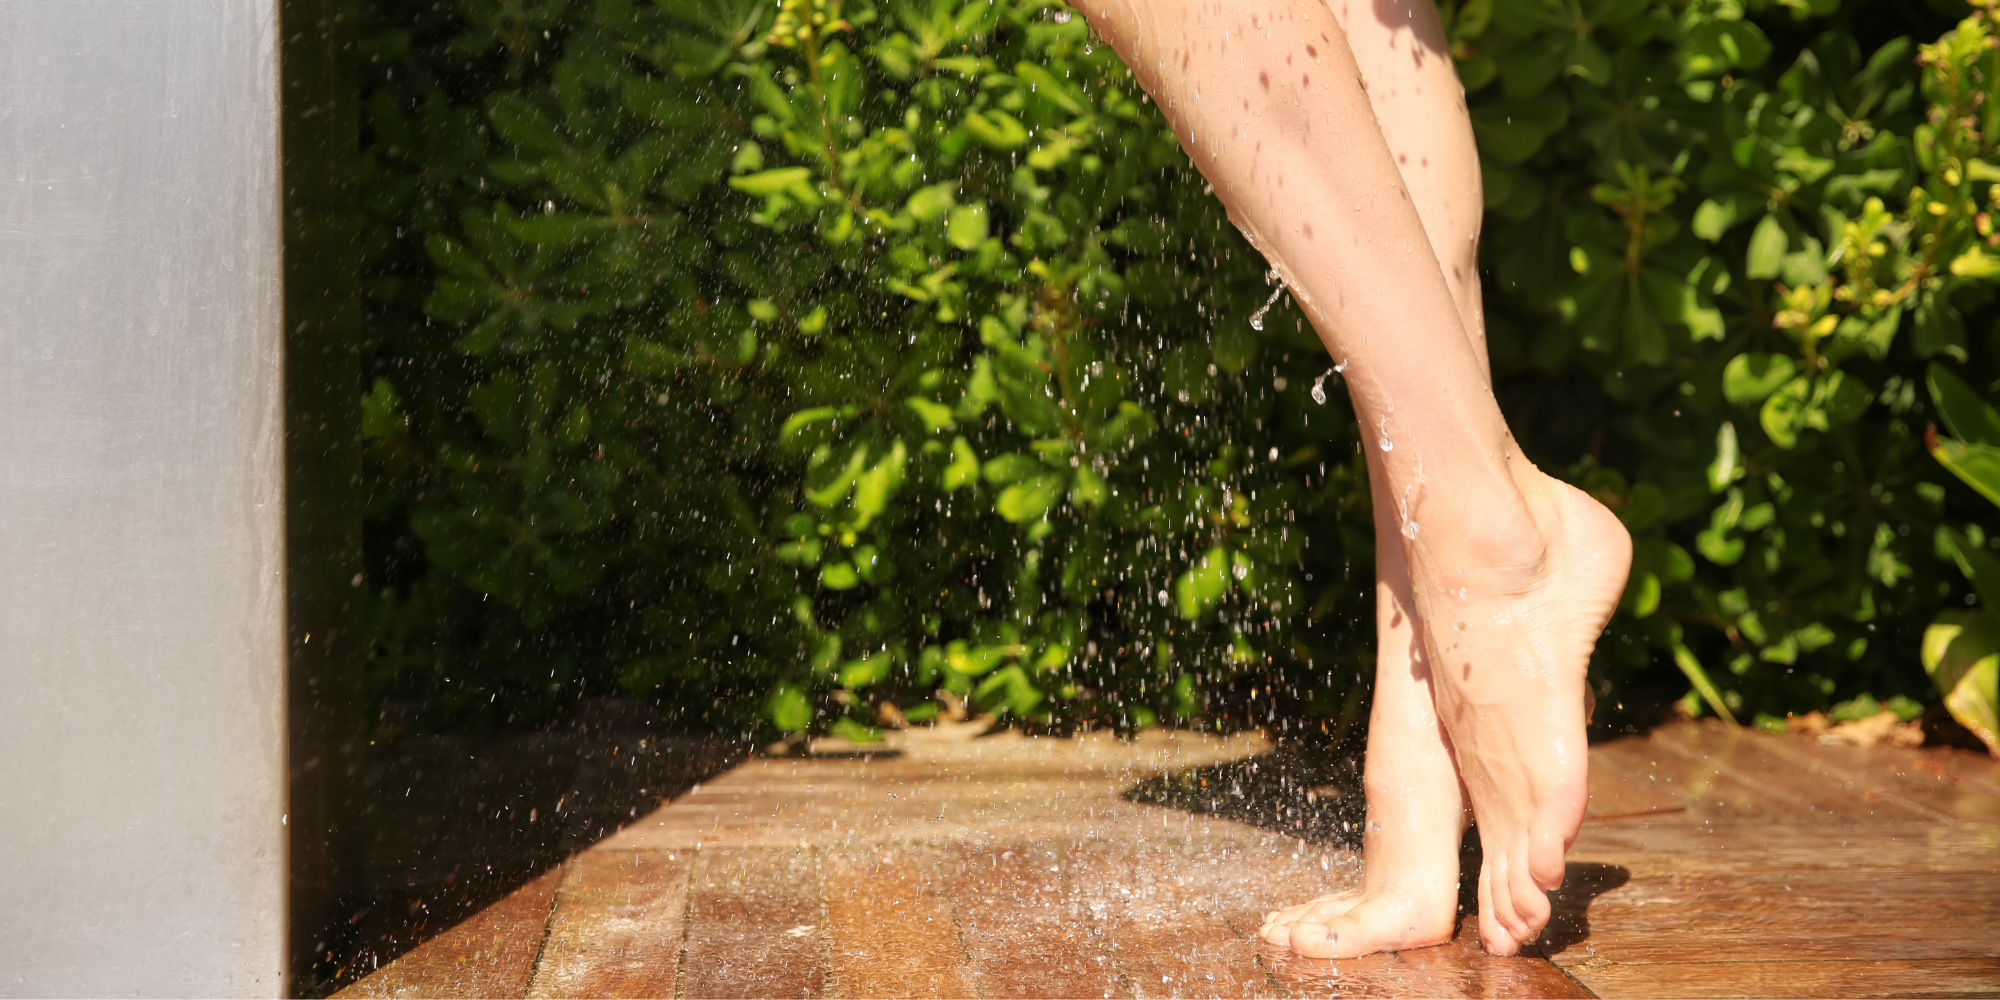
Taking a shower in an outdoor shower is truly unmatched – and for many people, brings back a ton of nostalgia and great childhood memories.
Outdoor showers have a ton of benefits on top of being aesthetically pleasing and simply more enjoyable than indoor showers. Especially if you have a house on or near the water, an outdoor shower is the perfect place to wash sand off from the beach, shower after a swim in the pool, clean yourself up after a day full of landscaping and yard work, and ultimately keeps your house cleaner, as your family can avoid going indoors muddy and dirty.
While outdoor showers are extremely common at beach or lake houses, the truth is you can design, build, and install one no matter where you live!
Here are some tips on how you can design and build an outdoor shower for your home, which will likely be one of the best investments and upgrades to your home yet!
1 – Figure out how you want the shower to look, and how much space you have.
First thing’s first – you must decide on how you want your shower to look. This will greatly depend on how much space you have and where you would like to put it. Overall, the design, layout, and spot that you put your outdoor shower is totally dependent on personal preference and what makes sense for the exterior of your home, as well as any utility lines are near the place you would like to put the shower, and how close an outdoor faucet is.
2 – Know your budget, assess needed professional help, and source materials.
Once you know how you want your outdoor shower to look and have a sense of what will be needed to design and build it, it is time to assess what your budget is and what will be feasible. During this process, depending on your available finances, you may have to take some time to figure out what is a “want” versus a “need” when it comes to your outdoor shower. You may also need to consider hiring some professionals for certain parts of the job, such as plumbing. Once figuring out what can be done yourself and what will need to be outsourced, it is time to source the needed materials to build your dream shower.
3 – Time to build!
Now, it is time to build your outdoor showering area! This process will not be the same for everyone, as it depends on the type of outdoor showering space you are building, but there are a few steps that are consistent for every outdoor shower building process. First, you must check out the water supply lines near your outdoor shower so that you can connect them. Second, ensure you are including a privacy wall and drainage area. Third, build a wooden floor for the shower. And finally, attach some sort of gate or door to the shower that is able to swing.
4 – The fun part – designing.
Once your outdoor shower is built and running, it is time to get creative and make your shower space your own personal, relaxing oasis. You can add as much or as little décor in it as you would like – some great ideas include installing shelving for shower supplies, adding in some greenery throughout to create a comfortable atmosphere, adding in towel hooks, and even a mirror if you have the space for it. You can’t go wrong here. This is all about your personal style! Once your outdoor shower is designed, you are officially ready for showers throughout the entire season.